
6 Steps For Better Smart Phone Photos - Houston, TX Family Photographer
The smart phone.
90% of the world has one.
Alright, so that may not be the correct percentage, but it certainly feels that way. It's all too common to see someone using one of these handy pieces of technology to take a photo of something they do not want to forget, or that they want to share with someone else. Like, for instance, your kid being adorable, a nice date night with your main squeeze, or what you ate on that date night to make everyone else drool. Don't act like you've never done it;)! The question is, do you know how to use that always available camera to take good photos, or do you just click the button and hope for the best? Well, I'm thrilled to be able to share 6 tips to help take your photos from the "cross your fingers and hope it turns out" photos, to the photos you might actually want to print out and put in a frame or photo album. So let's get started, shall we?
1. Lighting
This, quite honestly, is the most important tip for taking any photo! Now, obviously, you need light for a picture to turn out. However, finding the good light can really make or break any photograph. I know children in particular are constantly moving, so the brighter the setting the better! If you're indoors during the morning or afternoon, then put some toys right next to a window or a screen door that lets in a ton of light and position yourself on the side where the light is coming from to get some amazing photos of your children playing. You can also take the photo from the other side, to capture a nice silhouette. If you're outdoors, try to find some shade, and if there's no shade around, then have the subject of your photo turn their back to the sun so that they're not having to squint. You can then tell your camera what you want properly exposed(aka what part of the photo you want to be able to see). Typically, you can tell your camera this by tapping on the area of your screen that you want to be the main focus of your photo. And please oh please, only use the flash when it's absolutely necessary!! And by absolutely necessary, I mean only when it's pitch black.

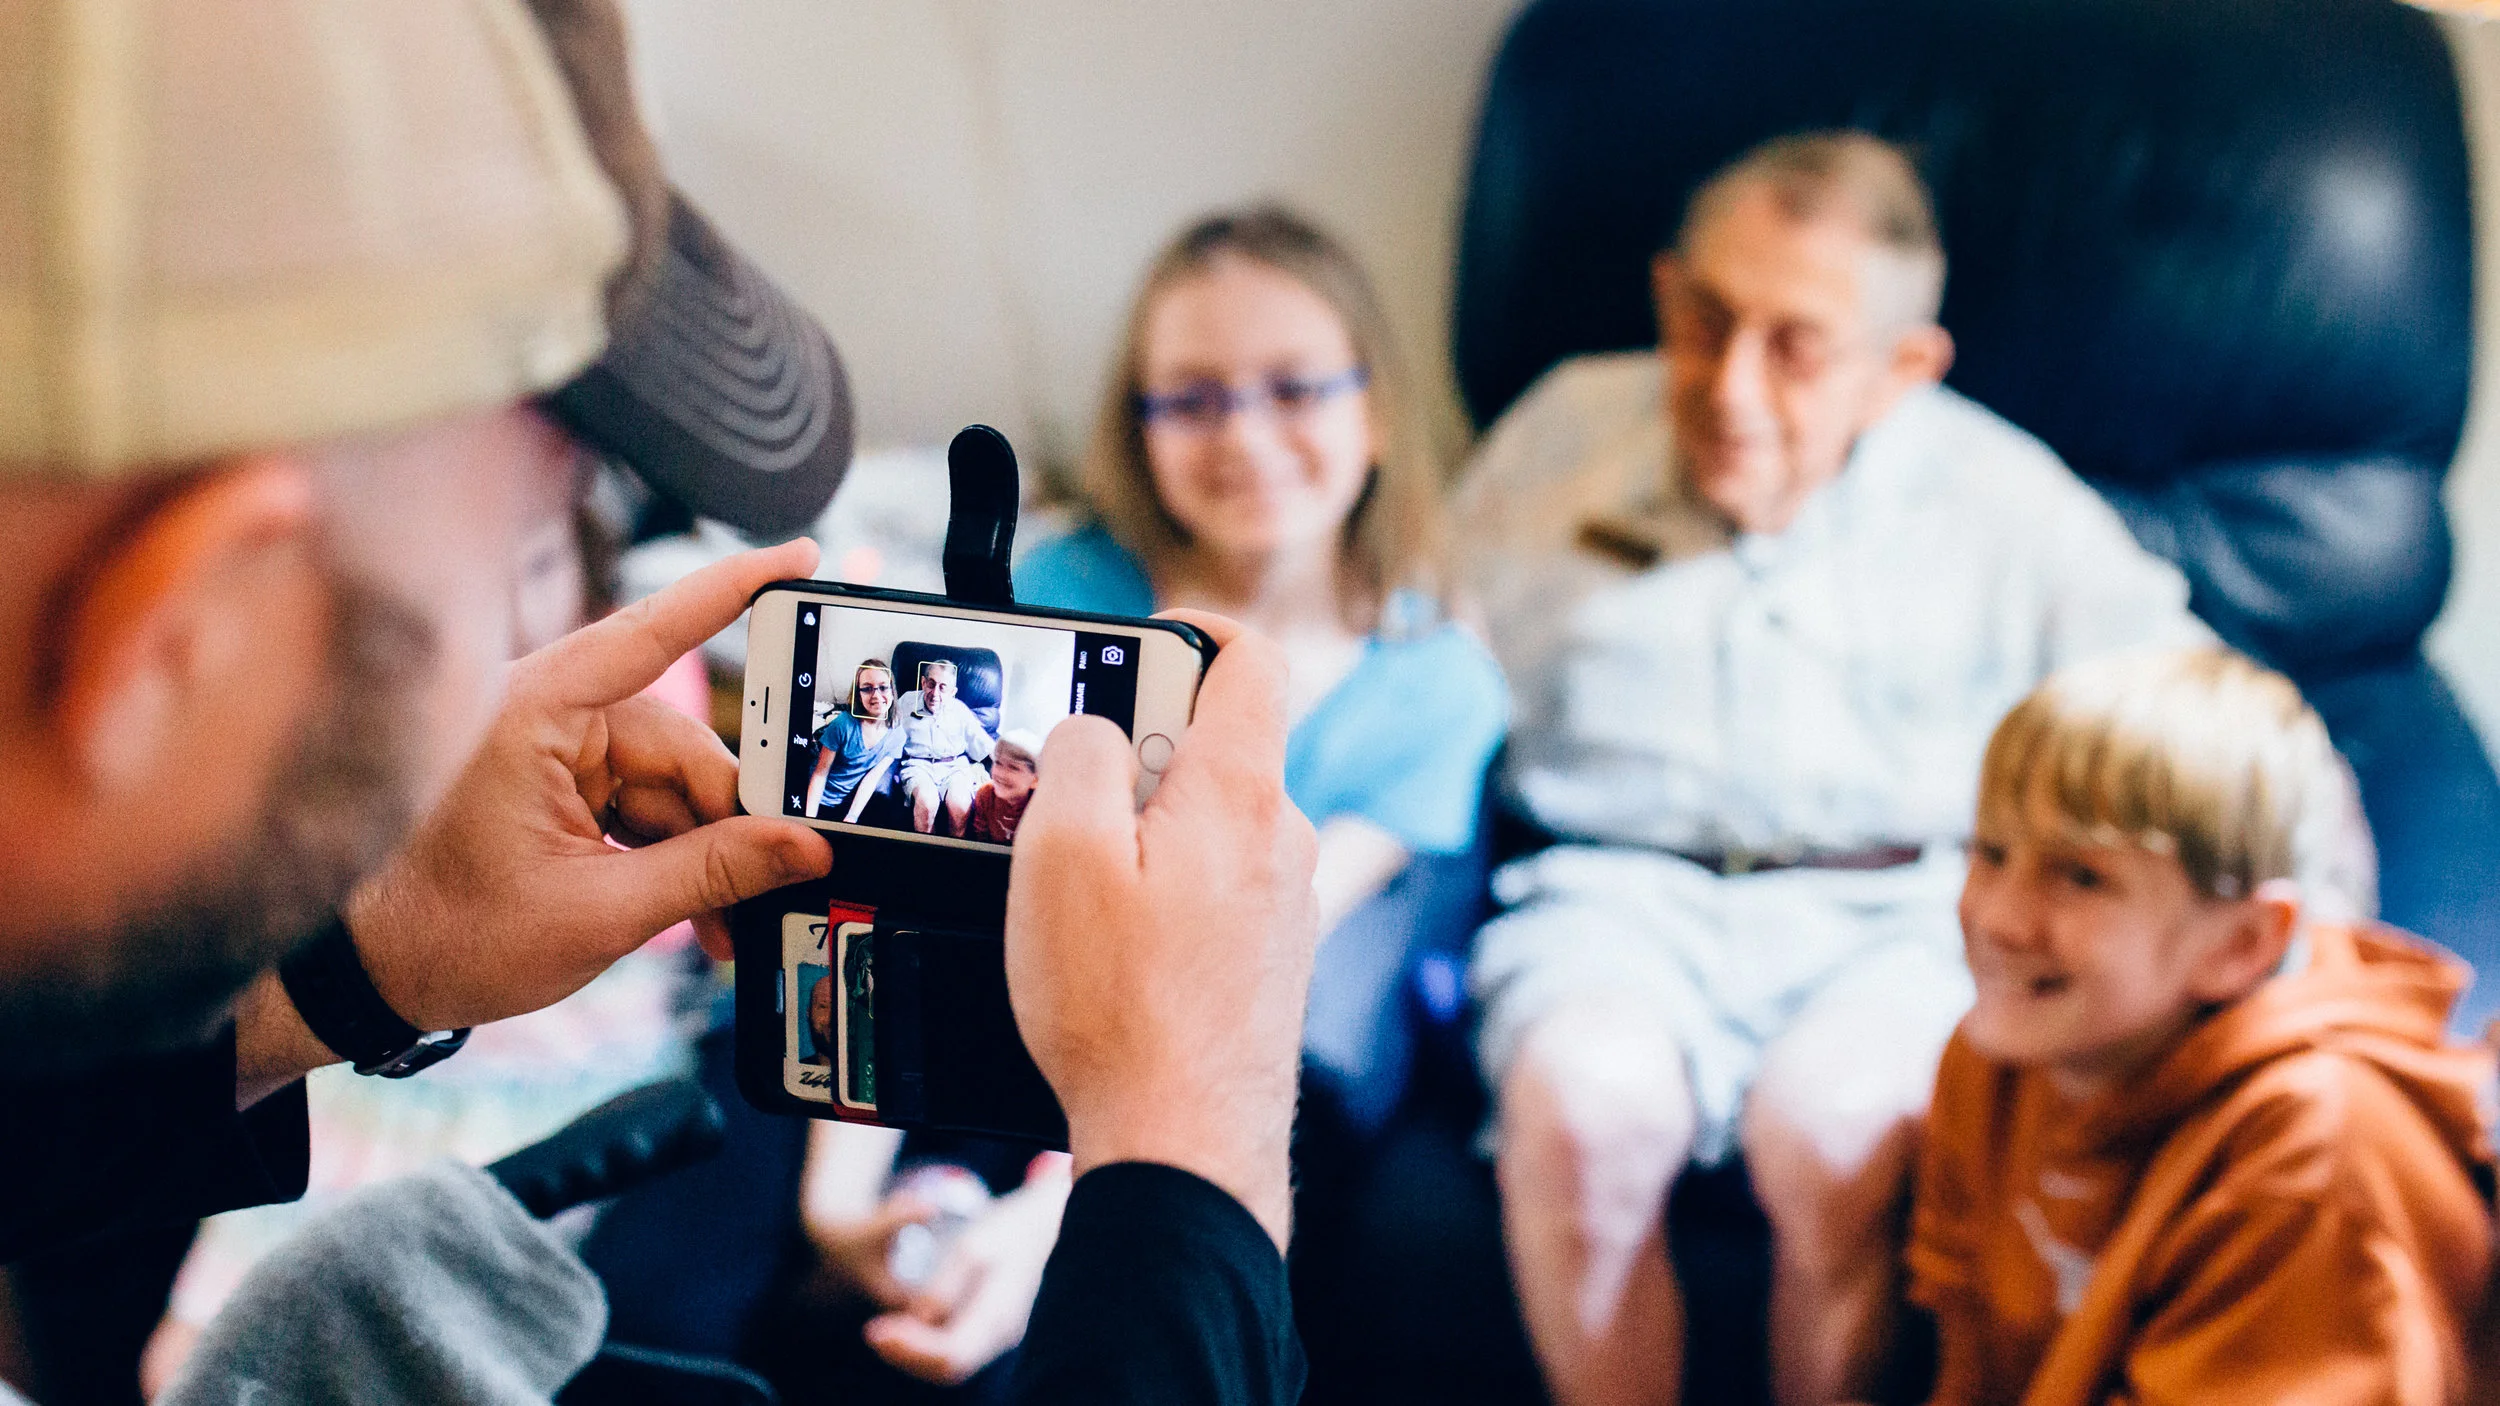
2. Hold Your Camera With Both Hands
Alright, so you can't always make your child hold perfectly still while you're taking the photo, but you can steady the camera to the best of your ability. Holding your camera with both hands is one of the best ways to offer stability so that there's no camera shake, causing your photo to come out blurry. Hoping your child stays still long enough for the photo is a whole other ballgame! But hey, that's where the first tip comes in handy!

3. Shoot in Landscape
No, I don't mean go out and take pretty pictures of mountains and waterfalls. Although if you do be sure to share so that we can all enjoy them!! :) What I mean is, turn your phone on it's side. Shooting in landscape not only allows you the option to hold your camera with both hands, but it also lets more of the story come through the photo. You get a much better perspective for what is happening at that very moment. Of course, there will be times when shooting in portrait(keeping your phone upright) is the only option, so in that case find something to support your arm, or extend your arm completely to offer the most stability in for your camera.

4. Perspective Keeps it Interesting
Taking a photo straight on can sometimes be nice! Changing up that perspective, however, is what can take your photo from nice to great!! Resting your phone on the kitchen counter while your child is washing their hands, or standing directly above them while they're playing with their toys and taking the picture from above makes for a much more intriguing photo! Try and think outside the box, and you just might come away with something you will cherish for many years to come! Also, pictures from slightly above is one of the most flattering angles. Yes, that's why you see all of the teenage girls taking photos with their phones up above their heads. So be sure to keep that in mind the next time you're snapping a photo... or more importantly, remind your spouse of that when they have the camera ready to take a photo of you!

5. Just Say No to Zoom
If you want a really grainy photo that you can hardly make out, then pinch out on that screen! It can sometimes work out alright, if you don't zoom too far, but for the most part it's better to just move closer to what you're wanting a picture of if you can. Also, if you thought holding your camera steady was difficult before, try zooming in as far as you can on your phone and take a picture. It's likely not going to end well.

6. Camera apps
My last tip is to find a camera app that you love!! How many times have you taken a photo and then thought, that's not what it looked like in person? Well, camera apps are a great way to enhance your photos to get them to look like what you saw with your own eyes. I personally love the app Filmborn! It's free, and also offers some really awesome editing tools that you can purchase beyond all of the basic necessities that come with the free version for you more editing savvy individuals. It also has an easy way to increase exposure (brighten) and decrease exposure (darken) before you even take your photo by swiping up and down on the screen. When you swipe from left to right, you're able to adjust your white balance, making your photo warmer (more orange) or cooler (more blue) as needed. It's a great app, and I highly recommend it. There are also a ton of other camera/photo editing apps out there, so look around and try to find one that you love!

That concludes the 6 tips for taking better photos with your phone camera! I hope that you have found these tips helpful and that you even learned a thing or two along the way. Feel free to ask any camera phone questions if you have any. I'm always happy to help a fellow phone-ographer :) Now get out there, and capture those memories!!
Enjoy every moment,
Nikki G.
Olive Shoot Photography
Houston Family Photographer
Documenting families who enjoy playing rather than posing
